Celebrating 35+ Years

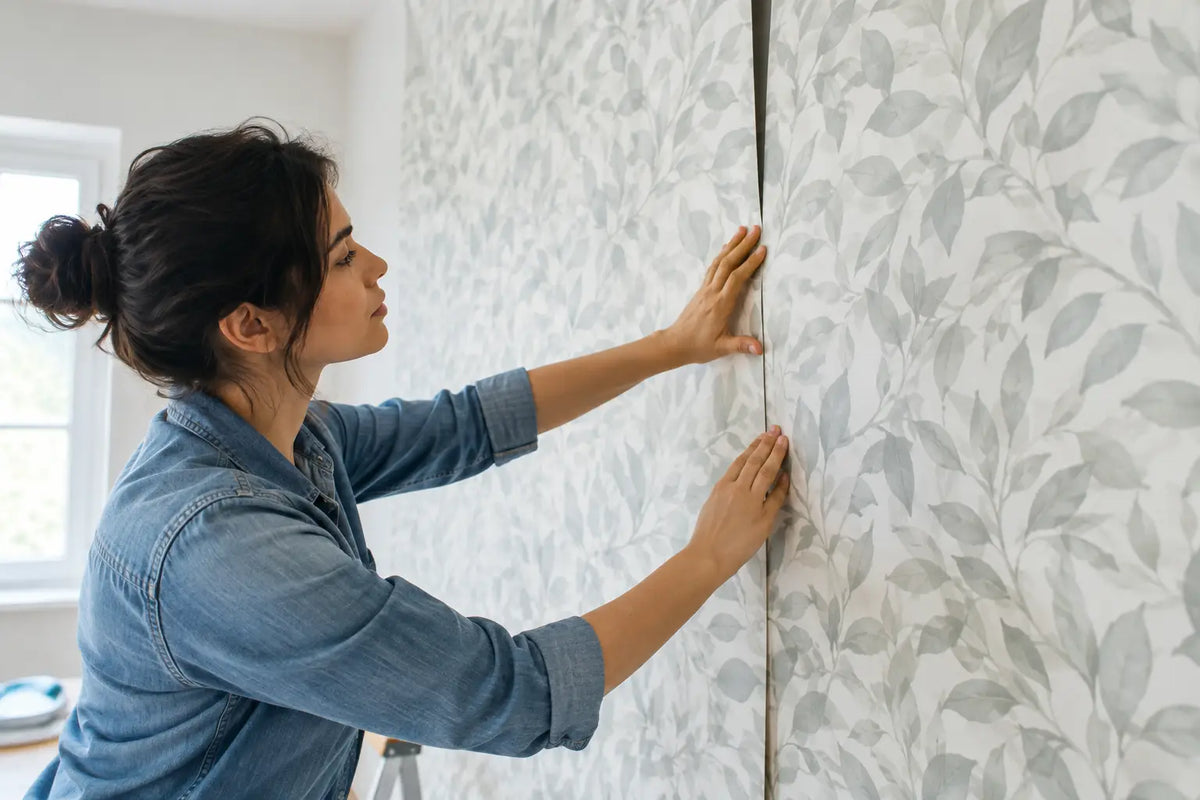
Guide to Wallpaper Seam Placement at Home
A beautiful wallpaper installation can be decided before the first strip reaches the wall. This guide to wallpaper seam placement helps you plan where each panel begins and ends, so the room feels intentional rather than interrupted by awkward pattern breaks or noticeable joins. Whether you are refreshing a powder room, creating a dramatic dining room, or papering one feature wall, a few decisions about seam location make a meaningful difference.
Why Wallpaper Seam Placement Matters
Wallpaper is installed in vertical lengths called drops. Every place two drops meet creates a seam. On a smooth, well-prepared wall with a quality wallcovering, those seams can be discreet. But light direction, wall texture, pattern scale, and the material itself all affect how much they show.
The goal is not always to make every seam disappear. Natural wallcoverings such as grasscloth, cork, and some handmade papers have visible joins by design. Their tonal variation and texture are part of the appeal. The goal is to place seams where they support the overall composition of the room and avoid putting them where the eye is most likely to stop.
Planning also helps protect a pattern’s rhythm. A large botanical, geometric, or mural design may need to be centered around a focal point. If you begin in the wrong location, the final seam can land in a highly visible spot or leave an unbalanced fragment of pattern beside a doorway.
Start With the Room, Not the First Roll
Before choosing a starting point, walk the room and identify what people notice first. In a living room, that may be the fireplace wall. In a bedroom, it is often the wall behind the bed. In a powder room, the mirror and vanity create the natural focal point. These areas deserve the most thoughtful pattern placement.
Then look for the quietest place to finish the room. A final seam is often best tucked above a door, behind an open door, in a less prominent corner, or on a short stretch of wall that is partly hidden by furniture. Avoid planning the last seam in the center of a main wall, beside a fireplace surround, or directly above a vanity where it will be seen every day.
This is especially useful with bold prints. A small-scale texture may be forgiving, but a sweeping floral or crisp stripe reveals even minor placement issues. The more graphic the design, the more valuable a dry layout becomes.
Check the Light Before You Commit
Light can highlight wallpaper seams more than the wallpaper itself. Stand in the room at different times of day and notice where daylight enters. Side light from a window can cast a subtle shadow along a seam, particularly on textured or darker papers.
When possible, position the first drops so their edges face away from the strongest natural light. For example, if a window is on the left side of a wall, work from left to right when the product and installer’s method allow it. This helps reduce the chance that raised seam edges catch the light.
Do not treat this as an absolute rule. Pattern centering and a clean finish at a focal wall can matter more than light direction. It depends on the room and the wallcovering. A professional installer will weigh both before hanging.
Find a Truly Plumb Starting Line
Walls are rarely perfectly straight, and corners are rarely perfectly square. That is why the first drop should not simply follow a corner or door casing. If that first strip is even slightly off, every strip that follows can drift, leaving a crooked pattern match by the time you reach the other side of the room.
Use a level or laser level to mark a plumb vertical line just inside the chosen starting point. The first drop aligns to that line, not necessarily to the corner. The small gap left at a corner can be wrapped or trimmed properly, keeping the next wall straight.
This step is particularly critical for stripes, trellis patterns, grids, and any design with a visible vertical element. With an organic floral or watercolor print, a minor variation may be less obvious. With a pinstripe, it will announce itself immediately.
Plan Seams Around Doors, Windows, and Corners
Architectural details create natural places for cuts, but they can also create difficult seams. A good layout avoids narrow wallpaper slivers beside a door or window whenever possible. Those thin pieces are harder to handle, more likely to lift at the edges, and visually distracting.
Measure the widths beside doors, windows, and built-ins before you begin. If your layout would leave a one-inch strip next to a casing, shift the starting point slightly so the cut becomes wider and more stable. A balanced six-inch piece on either side of a centered window usually looks more considered than one full panel on one side and a tiny fragment on the other.
At inside corners, do not force a full-width strip around the turn and expect the next wall to stay straight. Professionals typically wrap only a small amount around the corner, then begin the next piece on a new plumb line. This keeps the pattern and seams under control on both walls.
Outside corners need extra care because they receive more wear. A seam placed directly on a sharp outside corner can be vulnerable to lifting or damage. Wrapping the paper around the corner where appropriate, with an overlap placed just beyond the edge, generally gives a cleaner and more durable result. Material instructions should guide the exact technique.
Match the Pattern Before You Cut
Every wallpaper has a match type, and it changes the way seams should be planned. A random match is the simplest because the design can align at any point. A straight match requires the pattern to line up horizontally across adjacent strips. A drop match repeats at an offset and often creates more waste because every other strip begins farther down the roll.
Check the label for the pattern repeat and match before calculating how many rolls you need. Large repeats are worth extra planning, especially if you want a motif centered behind a bed, sofa, or dining table. Order enough material from the same dye lot whenever possible, then set aside extra for future repairs.
For statement patterns, lay out a few uncut lengths on the floor, if space allows. You can see where key leaves, birds, arches, or blooms will fall before committing to a cut. This simple preview often prevents the disappointment of a prominent motif being sliced in half at eye level.
Material Changes the Rules
Not all wallcoverings behave the same way at the seam. Non-woven wallpapers are often stable and straightforward to position, while vinyl wallcoverings can be durable choices for hardworking spaces but may require careful adhesive selection and seam rolling. Follow the manufacturer’s installation instructions rather than assuming one approach fits every product.
Grasscloth deserves its own expectations. Its fibers, shading, and panel-to-panel variation mean seams will remain visible. Rather than fighting that character, plan the room so the vertical rhythm feels evenly spaced and the most distinct variations do not land in the center of a focal wall. Do not overlap natural wallcovering edges unless the product instructions specifically call for it.
Textured, flocked, beaded, or delicate papers may also need gentler handling. Aggressive seam rolling can flatten texture, damage a finish, or push adhesive onto the face of the paper. A clean installation begins with the right product knowledge as much as careful placement.
A Practical Layout for a Feature Wall
Feature walls are often easier than full rooms because you can control both end points. Start by finding the visual center of the wall, then decide whether the pattern should be centered on a motif or on a seam. For a symmetrical geometric, centering a full motif or vertical line usually creates the strongest result. For a loose botanical, focus on balancing the overall movement rather than forcing one flower into the exact middle.
Mark the panel widths outward from the center and review the cuts at each edge. If one end will have a narrow strip, adjust the layout so both sides receive similar-sized cuts. The wallpaper may not begin exactly at the physical center, but the finished wall will look more balanced.
If you are choosing wallpaper for a project and want to see the scale, texture, and color under your own lighting, samples are worth the extra step. For Atlanta-area shoppers, Wallpaper and Stuff’s Smyrna showroom also makes it easier to compare patterns in person before committing to a room.
When to Bring in a Professional
A confident DIY installer can handle many straightforward walls, especially with a forgiving non-woven paper and a small repeat. A professional is a wise choice for high ceilings, expensive natural materials, complicated stairwells, murals, heavily patterned papers, or rooms with many windows and corners. Installation costs can be worthwhile when the wallcovering itself is a major design investment.
If you do install it yourself, prepare the wall carefully, inspect every roll before cutting, and work deliberately rather than quickly. Clean, smooth walls and a considered seam plan give even a simple wallpaper a more polished finish.
The best seam placement is the one you barely notice because the room’s color, texture, and pattern are doing all the talking.