Celebrating 35+ Years

Wallpaper Over Paneling for a Fresh Update
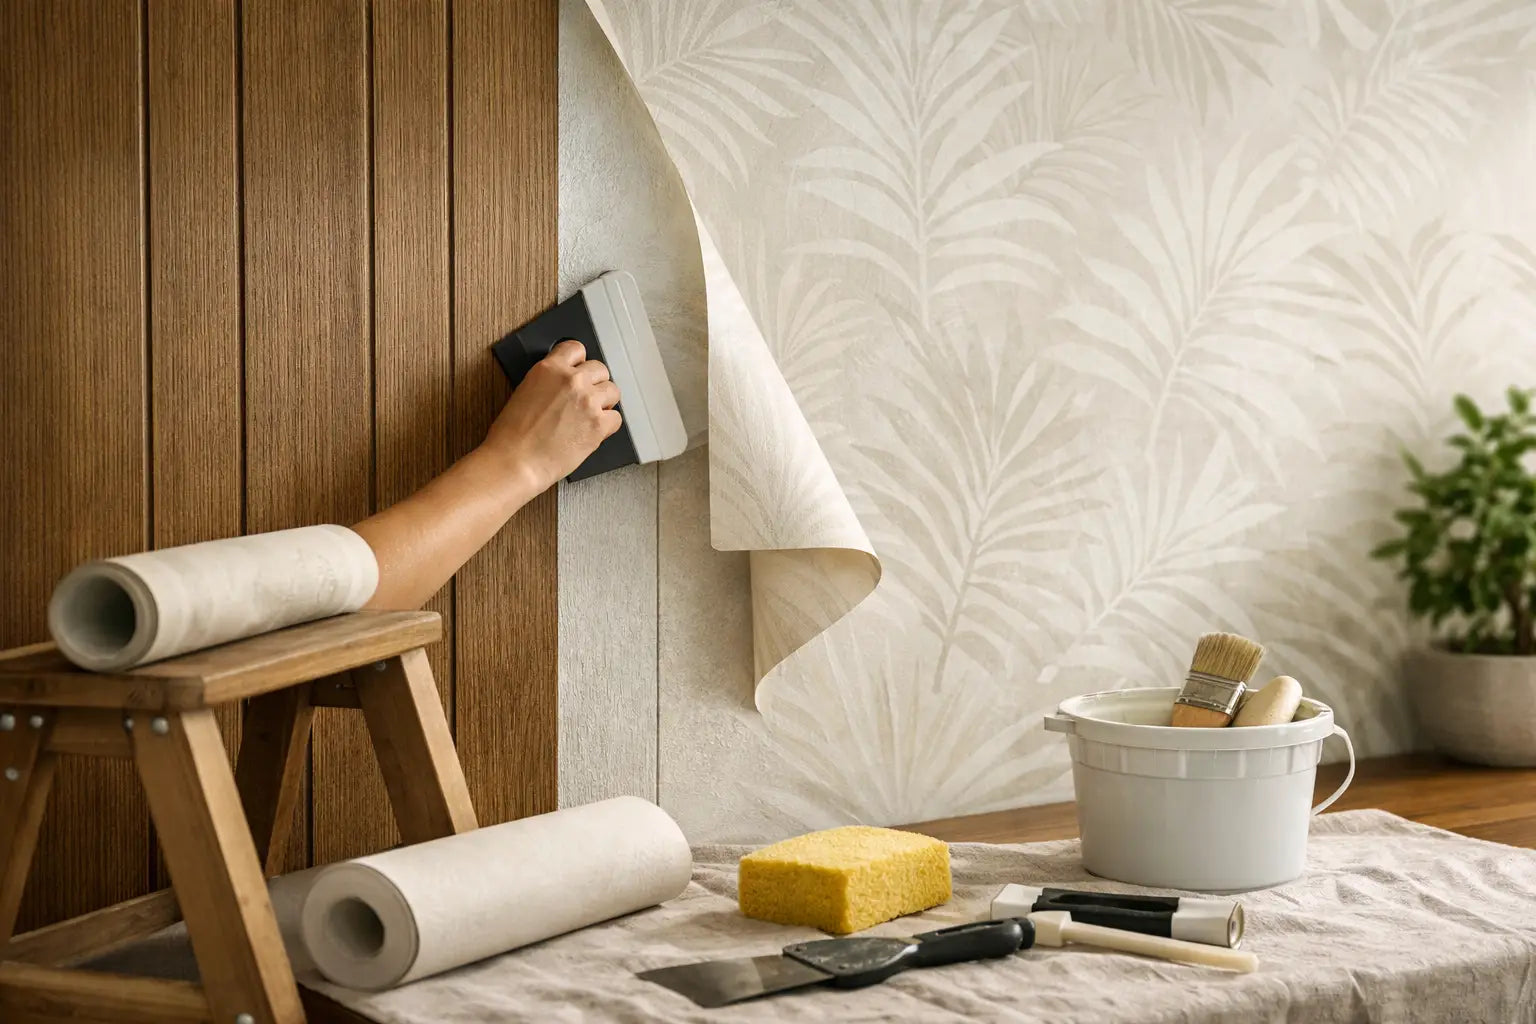
Wood paneling can make a room feel warm and tailored, but dated finishes, dark colors, and deep grooves often leave homeowners ready for a change. Wallpaper over paneling can be a beautiful shortcut to a brighter, more current room - provided the surface is prepared with care. The goal is not simply to cover the paneling. It is to create a wall that looks intentional, smooth, and ready to showcase the pattern or texture you love.
Can You Put Wallpaper Over Paneling?
Yes, you can put wallpaper over paneling, especially when the paneling is firmly attached, dry, and structurally sound. It is often far less disruptive than removing old wood panels, repairing the drywall behind them, and starting over. For a powder room refresh, a cozy den, a dining room, or a feature wall, this approach can save time while delivering a dramatic visual transformation.
The deciding factor is the profile of the paneling. Flat sheet paneling with shallow seams is generally the easiest surface to cover. Traditional tongue-and-groove boards, beadboard, or paneling with pronounced channels needs more preparation. Without it, grooves can telegraph through the wallpaper, especially under daylight or with a smooth, light-colored design.
Wallpaper is not a cure for loose panels, moisture damage, or walls that flex when pressed. Repair those issues first. If the paneling is warped, peeling, or installed over an exterior wall with an active moisture concern, removal and wall repair may be the smarter long-term choice.
Preparing Paneling for Wallpaper
Preparation makes the difference between a quick cover-up and a finish that looks professionally considered. Take the time to assess the wall in bright, natural light. Run your hand across the surface to find raised seams, loose edges, nail holes, and uneven areas that may not be obvious at first glance.
Clean, Repair, and Dull the Surface
Start by removing outlet covers, switch plates, curtain hardware, and anything else mounted on the wall. Clean the paneling thoroughly with a degreasing cleaner, particularly in kitchens, hallways, and rooms where hands frequently touch the walls. Adhesive needs a clean, dry surface free of dust, wax, oil, and furniture polish residue.
Next, secure any loose panel edges with appropriate fasteners and fill nail holes, dents, and damaged spots with a quality patching compound. If the paneling has a glossy varnish or slick painted finish, lightly sand it to remove the shine and improve adhesion. You do not need to strip the wall to bare wood. You only need to create a clean, lightly textured surface that primer can grip.
Fill the Grooves for a Smooth Finish
For paneling with visible grooves, skim-coating is usually the best option. Apply joint compound or a compatible wall patching material along each channel, then feather the edges beyond the groove so the repair blends into the face of the panel. Deep grooves may require two thin coats rather than one heavy application.
Once dry, sand the filled areas until they feel level. Wipe away all sanding dust before moving on. This step takes patience, but it is what allows delicate botanicals, crisp geometrics, and refined grasscloth-inspired textures to look polished instead of distorted by the wall beneath.
Some homeowners use lining paper to help disguise shallow panel seams. It can be useful, but it should not replace filling deep grooves. Liner smooths minor variations; it does not erase a strongly textured surface.
Prime for Adhesion and Color Control
Apply a wallpaper primer designed for the wallcovering you plan to use. Primer promotes better paste adhesion, helps paper slide into position during installation, and can make future removal easier. It also seals patched areas so they do not absorb adhesive unevenly.
Tinted primer is especially helpful beneath dark wallpaper or when covering dark wood paneling with a pale design. A warm white, cream, or soft gray wallpaper can look cleaner and more consistent when the substrate is properly primed first.
Choosing the Best Wallpaper for Paneling
Once the wall is smooth and primed, most wallpaper types can work beautifully. The best choice depends on the room, the amount of remaining texture, and the look you want to create.
Non-woven wallpaper is a favorite for many residential projects because it is stable, easy to handle, and forgiving during installation. Many non-woven styles are paste-the-wall, which can simplify the process when working around corners, windows, and doorframes. They are available in a wide range of prints, from airy florals to graphic modern patterns.
Vinyl wallpaper is a practical choice for busy spaces and moisture-prone rooms with good ventilation. It offers durable, wipeable performance and can bring color and pattern to a powder room, laundry room, or family-friendly hallway. Just be sure the wall is fully dry and the room does not have an unresolved humidity issue.
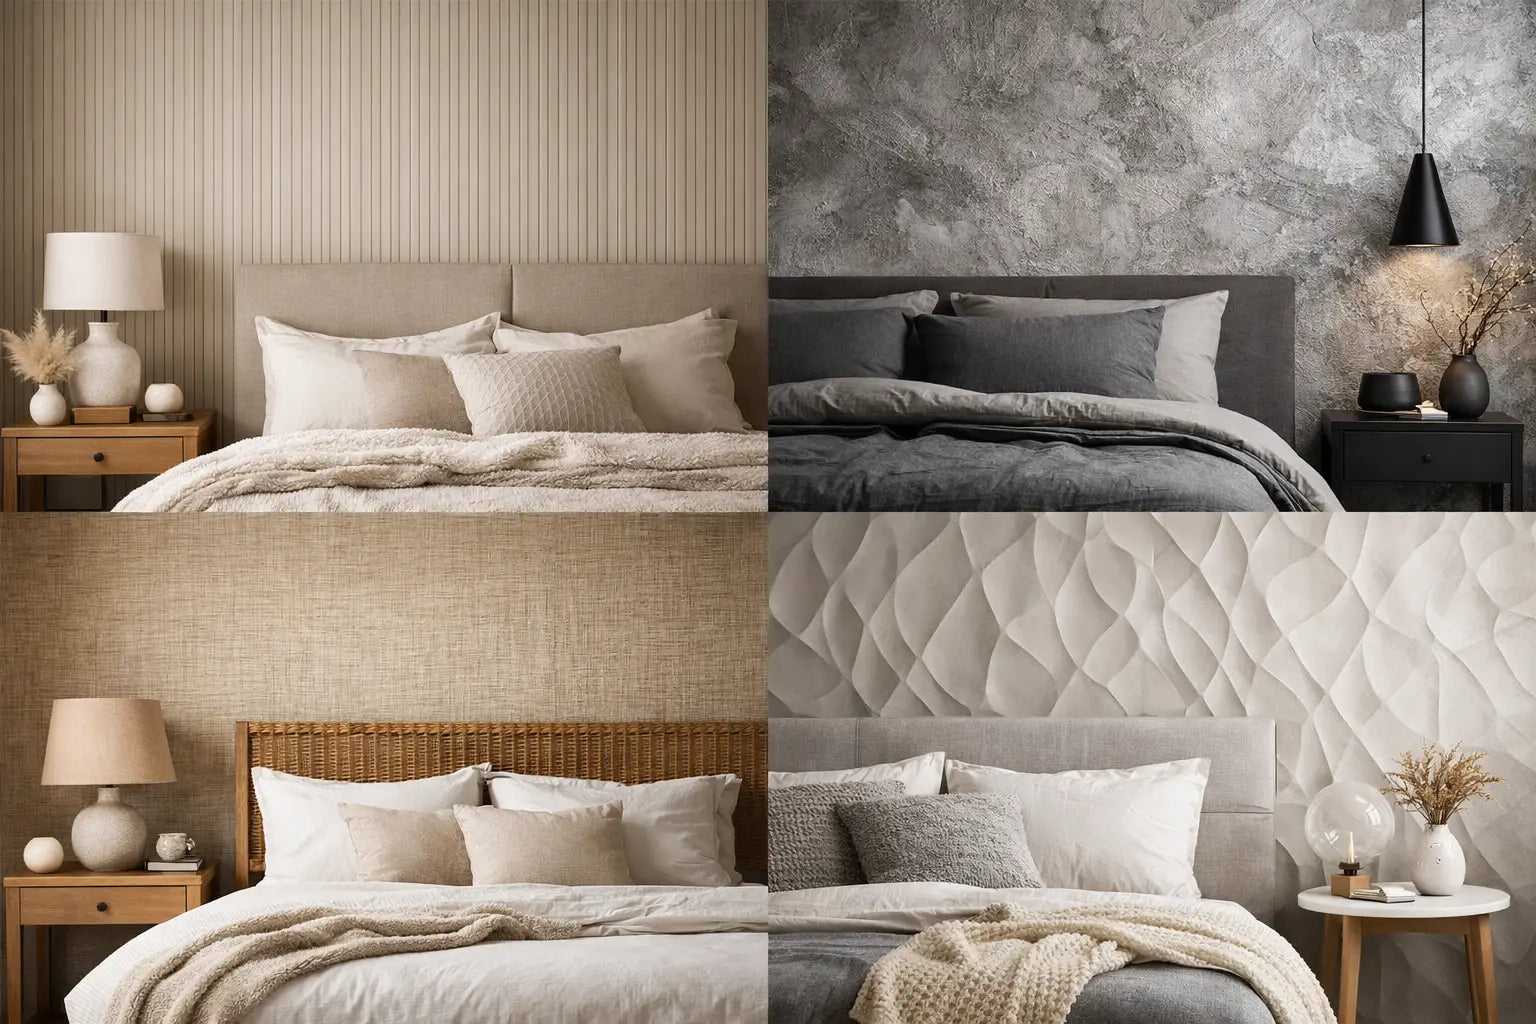
Textured wallcoverings can be especially effective over formerly paneled walls. A grasscloth look, cork finish, paintable texture, or dimensional vinyl can add warmth and depth while making a room feel more layered. True natural materials such as grasscloth are striking, but they may show natural color variation and seams. That character is part of their appeal, though it is worth considering before choosing them for a large wall.
Smooth, high-contrast papers require the most precise prep because every irregularity can show. If you love a crisp white background with a fine line pattern, invest extra effort in skim-coating and sanding. On the other hand, a medium-scale botanical, woven texture, or richly colored print can be more forgiving while still creating an elevated finish.
Installation Details That Matter
Before cutting the first strip, plan the layout. Decide where the pattern should begin and where the least noticeable seam will fall. In a room with a focal point such as a fireplace, bed, or dining table, centering the pattern on that feature often creates the most balanced result.
Use a level or plumb line for the first panel. Do not assume a corner is straight, particularly in older homes. Every strip that follows depends on that first line being true.
Follow the wallpaper manufacturer's instructions for paste type, booking time, and trimming. These details vary by material. Do not overwork seams, and use a wallpaper smoothing tool with a light touch to avoid stretching the paper or pressing adhesive onto the face of the design. A clean damp sponge is useful for removing paste immediately, but avoid saturating delicate papers.
If the paneling covers a large room or includes many built-ins, windows, and inside corners, professional installation may be worth considering. The preparation can be a manageable DIY project, while the final hanging benefits from an experienced hand. It depends on your comfort level, the cost of the wallpaper, and how exacting the pattern match needs to be.
When Wallpaper Over Paneling Is Not the Right Move
There are times when paneling should be removed rather than covered. Active water damage, mildew, crumbling material, major movement in the wall, or extensive bowing will not be solved with primer and wallpaper. Likewise, if the paneling is a valuable architectural feature in excellent condition, consider whether paint, refinishing, or selective wallpaper on an adjacent wall might preserve more of the room's original character.
For homeowners who want a quick update but are not ready to fill grooves, paintable wallpaper can sometimes offer a middle ground. It still needs a well-prepared surface, yet its texture can soften minor imperfections and gives you the flexibility to choose a custom paint color afterward.
A sample is one of the easiest ways to make the decision with confidence. View it against the paneling in morning light, evening light, and with your existing flooring and furnishings nearby. At Wallpaper and Stuff, seeing a design in person can help you compare texture, scale, and color before committing to a full-room transformation.
The most successful paneling updates honor the room you have while giving it a new point of view. With smooth preparation, the right wallpaper, and a pattern that suits your home, yesterday's wall treatment can become the foundation for a space that feels entirely your own.