Celebrating 35+ Years

How to Remove Old Wallpaper Without Wall Damage
A dated floral in the dining room or a peeling border in the powder room can make an otherwise lovely space feel stuck in another decade. Learning how to remove old wallpaper carefully gives you a clean starting point for paint, fresh wallcovering, or the textured finish you have been planning. The goal is not simply to get paper off the wall. It is to preserve the surface underneath.
Wallpaper removal is usually straightforward, but the right method depends on what is on your wall and what is behind it. A vinyl wallpaper may peel away in sheets, while older paper-backed material can require moisture, patience, and a little more repair work. Start slowly, test a small area, and let the wall tell you what it needs.
Before You Remove Old Wallpaper, Identify It
Begin at a loose seam, corner, or outlet cover and lift a small edge with your fingernail or a putty knife. Many modern wallpapers have a decorative top layer that separates from a paper backing. If the printed or vinyl layer peels away cleanly but leaves a thin paper layer behind, you are dealing with strippable wallpaper. Do not assume the backing must come off dry. It is usually designed to release after it has been dampened.
If the wallpaper comes away only in small bits, it may be traditional paper or a material installed with a particularly strong adhesive. Older walls can bring another variable: drywall, plaster, or previously painted surfaces may be less forgiving when scraped. This is where patience saves time later.
Turn off electricity to the room at the breaker, then remove outlet and switch plates. Cover the floor with drop cloths or old towels, and protect nearby furniture. Keep a trash bag close by because wet wallpaper becomes heavy and messy quickly.
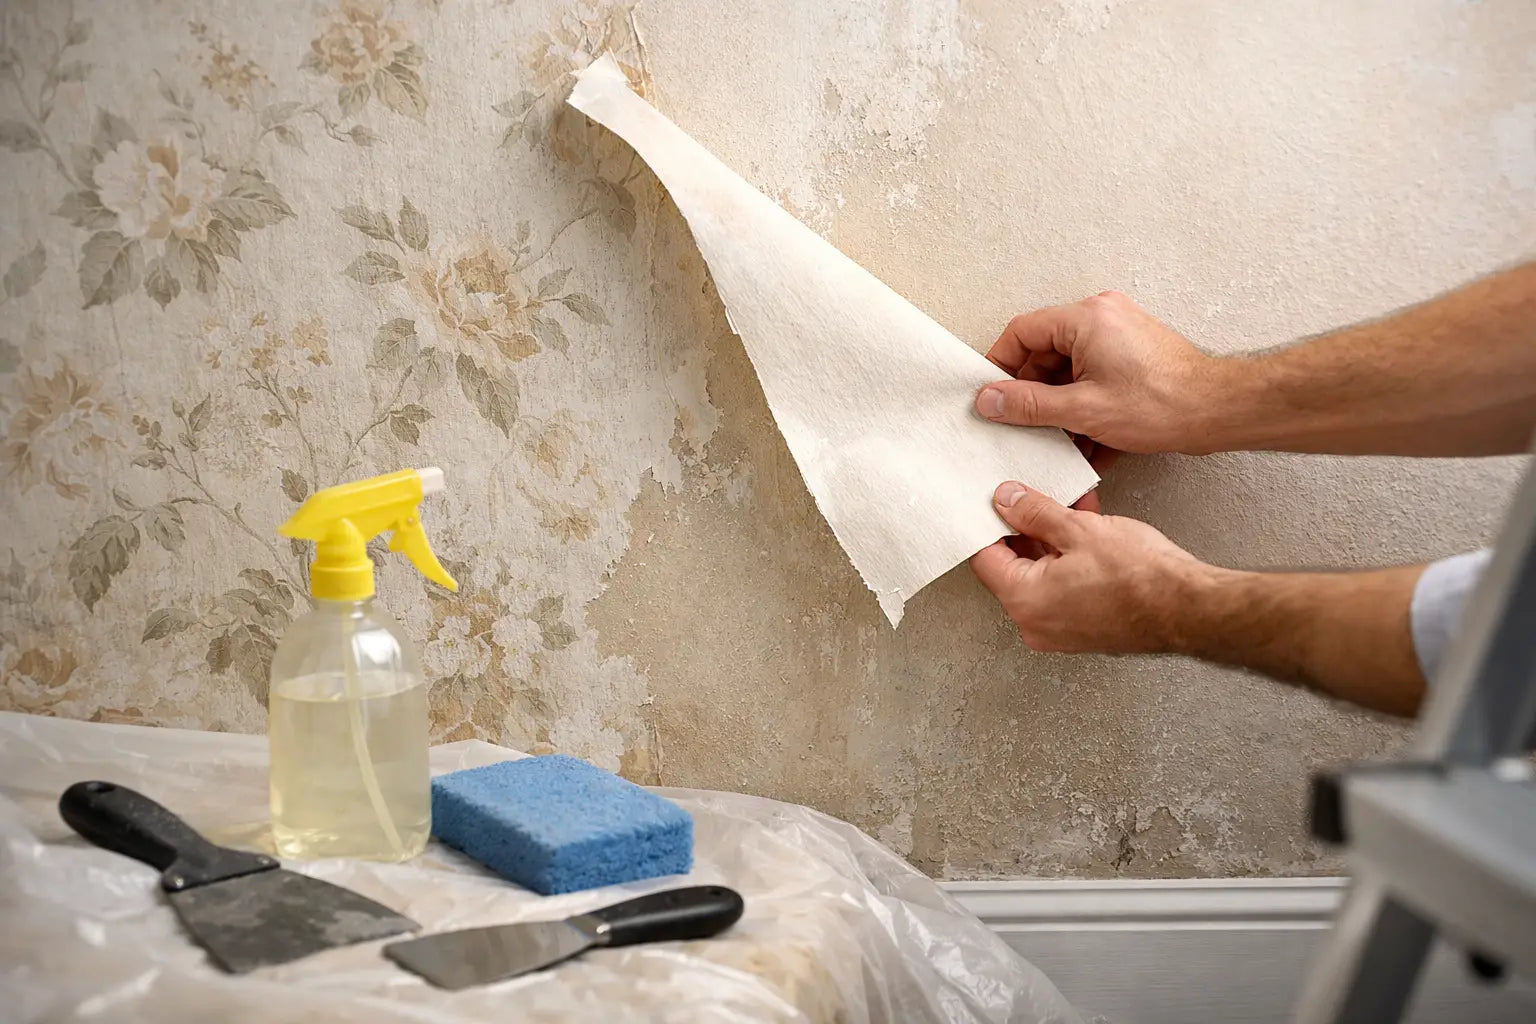
Gather a spray bottle or garden sprayer, warm water, a wallpaper scoring tool, a broad putty knife, a sponge, clean rags, and a bucket. A commercial wallpaper stripper can be helpful for stubborn paste, but warm water is often enough for a first pass. For walls with durable paint underneath, a steamer may help. It is less ideal for unprimed drywall, where too much moisture can soften the paper face of the board.
How to Remove Old Wallpaper Step by Step
Start with a dry peel test
Pull from a seam at a low angle, keeping the paper close to the wall rather than yanking outward. If it releases in wide strips, continue working across the room. Roll the removed material inward as you go to keep it manageable.
Even when the top layer comes off easily, inspect the wall before moving on. A leftover backing or adhesive film can interfere with paint and prevent new wallpaper from adhering properly. Smooth, clean walls are the foundation for a finish that looks intentional rather than improvised.
Score only when the surface needs help
If water beads on the wallpaper or refuses to soak through, lightly score the surface. A scoring tool makes tiny perforations that allow moisture to reach the paste. Use gentle pressure and move in a random pattern. The tool should puncture the wallpaper, not gouge the wall beneath it.
This step is especially useful with vinyl-coated wallpaper. It is not always necessary, and over-scoring can leave marks in drywall that later need patching. When in doubt, test a small section first.
Apply warm water or stripping solution
Mist a manageable section, roughly three feet wide, with warm water. Let it sit for five to 10 minutes, then test an edge with your putty knife. If the paper resists, apply more solution and wait a few more minutes rather than forcing it.
For more difficult installations, mix a wallpaper-removal solution according to its label directions. The purpose is to soften adhesive, not soak the wall for an extended period. Work in small sections so the solution stays active and you can control the amount of moisture on the wall.
A sponge works well for applying solution near corners, trim, and outlets. Keep water away from electrical boxes, and wipe up drips as you go. The process can feel slow at first, but letting the paste release properly is much faster than repairing torn drywall later.
Scrape with a broad, flexible blade
Once the paper is soft, slide a wide putty knife beneath an edge and lift gently. Hold the blade nearly flat to the wall. A steep angle is more likely to dig into drywall or pull off the facing paper.
Use steady, short motions rather than trying to remove an entire section in one dramatic pull. If the wallpaper starts tearing, re-wet that spot and give it another few minutes. The wall should not have to fight you.
Corners and areas around window trim are often the most stubborn. A smaller putty knife can help there, but use the same light touch. Avoid razor blades and sharp scraping tools. They may seem efficient, yet they can leave cuts that become visible after painting or under a new wallcovering.
Remove Every Trace of Paste
The wallpaper may be gone, but the job is not finished until the adhesive residue is gone too. Run your hand over the dry wall. Any tacky, slick, or bumpy areas need more cleaning. Paste that looks nearly invisible can cause fresh paint to crack, peel, or dry with an uneven sheen.
Wash the wall with warm water and a sponge, changing the water often. For persistent residue, use a wallpaper stripping solution and a non-abrasive scrub pad. Work from top to bottom, then rinse with clean water so no cleaning product remains on the surface.
Give the wall time to dry completely. Depending on room humidity and how much water was used, that may take overnight. Do not rush into patching, priming, or hanging a new design while the surface is still damp. Moisture trapped beneath primer or wallpaper can create problems that do not show up until later.
Repair and Prepare the Wall for Its Next Look
After the wall dries, inspect it in natural light and with a lamp aimed across the surface. This side lighting reveals dents, loose drywall paper, old nail holes, and uneven areas that are easy to miss otherwise.
Use lightweight joint compound to fill small gouges and holes. If removing wallpaper tore the drywall face paper, seal that area with a problem-surface primer before applying compound. Skipping this step can cause the damaged paper to bubble when it meets moisture.
Once patches are dry, sand lightly with fine-grit sandpaper and wipe away dust. If you are painting, apply a quality primer suited to your wall condition. If you are installing new wallpaper, use a wallpaper-specific primer. It creates an even surface for adhesion and makes future removal far less stressful.
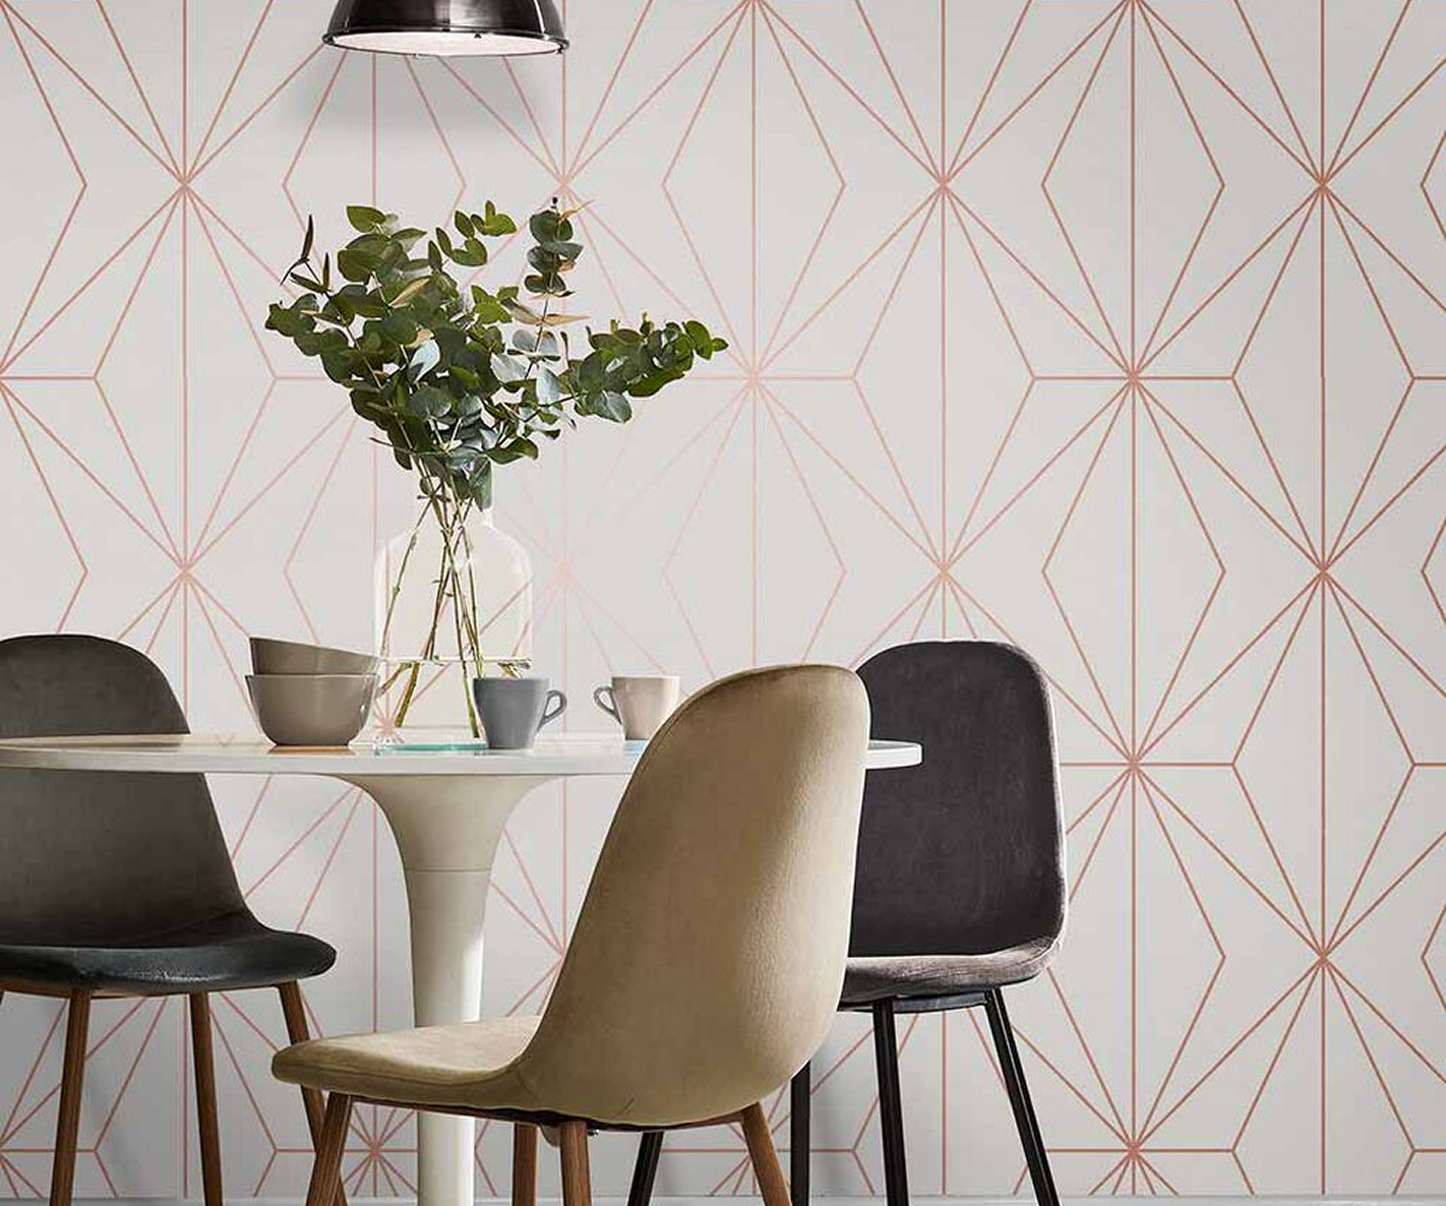
This preparation matters even more when selecting a light-colored, smooth, or reflective wallcovering. Subtle grasscloth texture can be forgiving of minor imperfections, while a crisp geometric print or metallic finish will show every bump beneath it. The wall and the wallpaper should work together.
When a Steamer Is Worth Using
A wallpaper steamer can make sense when conventional soaking is not loosening old paste, especially on plaster walls or heavily layered installations. Steam is effective because it delivers heat and moisture directly through the paper, but it requires care.
Hold the steam plate against a small area for a few seconds, then scrape while the adhesive is warm. Do not leave it in one place too long, and never steam directly over outlets or switches. On drywall, use the lowest effective exposure and check frequently for softening or bubbling in the wall surface.
If the wallpaper was hung over bare drywall without proper primer, removal may reveal extensive damage no matter which method you use. In that case, stop before the repair scope grows. A professional can assess whether targeted repairs, skim coating, or new drywall will provide the best result.
Common Wallpaper Removal Mistakes to Avoid
The biggest mistake is scraping a dry wall aggressively. It can turn a weekend refresh into a drywall repair project. Another is using too much water all at once, particularly near seams, trim, and electrical openings.
Do not paint over leftover wallpaper unless you are certain it is firmly bonded, smooth, and free of lifted seams. Even then, the paper can react to moisture in paint and begin to bubble. Removing it first typically delivers a more dependable finish.
It also helps to resist the temptation to choose a new wallpaper before the wall is fully prepared. Once the old layer is gone, you can see the room's light, proportions, and architectural details more clearly. That is the ideal moment to consider whether the next look calls for a timeless botanical, a tailored stripe, a tactile grasscloth, or a statement pattern.
For homeowners who want to see how colors and textures read in real life, Wallpaper and Stuff offers a showroom setting where samples can make that final choice feel much more certain. A well-prepared wall gives every new design its best chance to shine.
When the last bit of paste is washed away and the wall feels smooth beneath your hand, pause before choosing the finish. That blank surface is not just a repair project completed. It is room to create a space that feels more like you.